Gardening with Gourmet Mushrooms: Wine Cap Edition
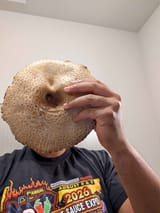
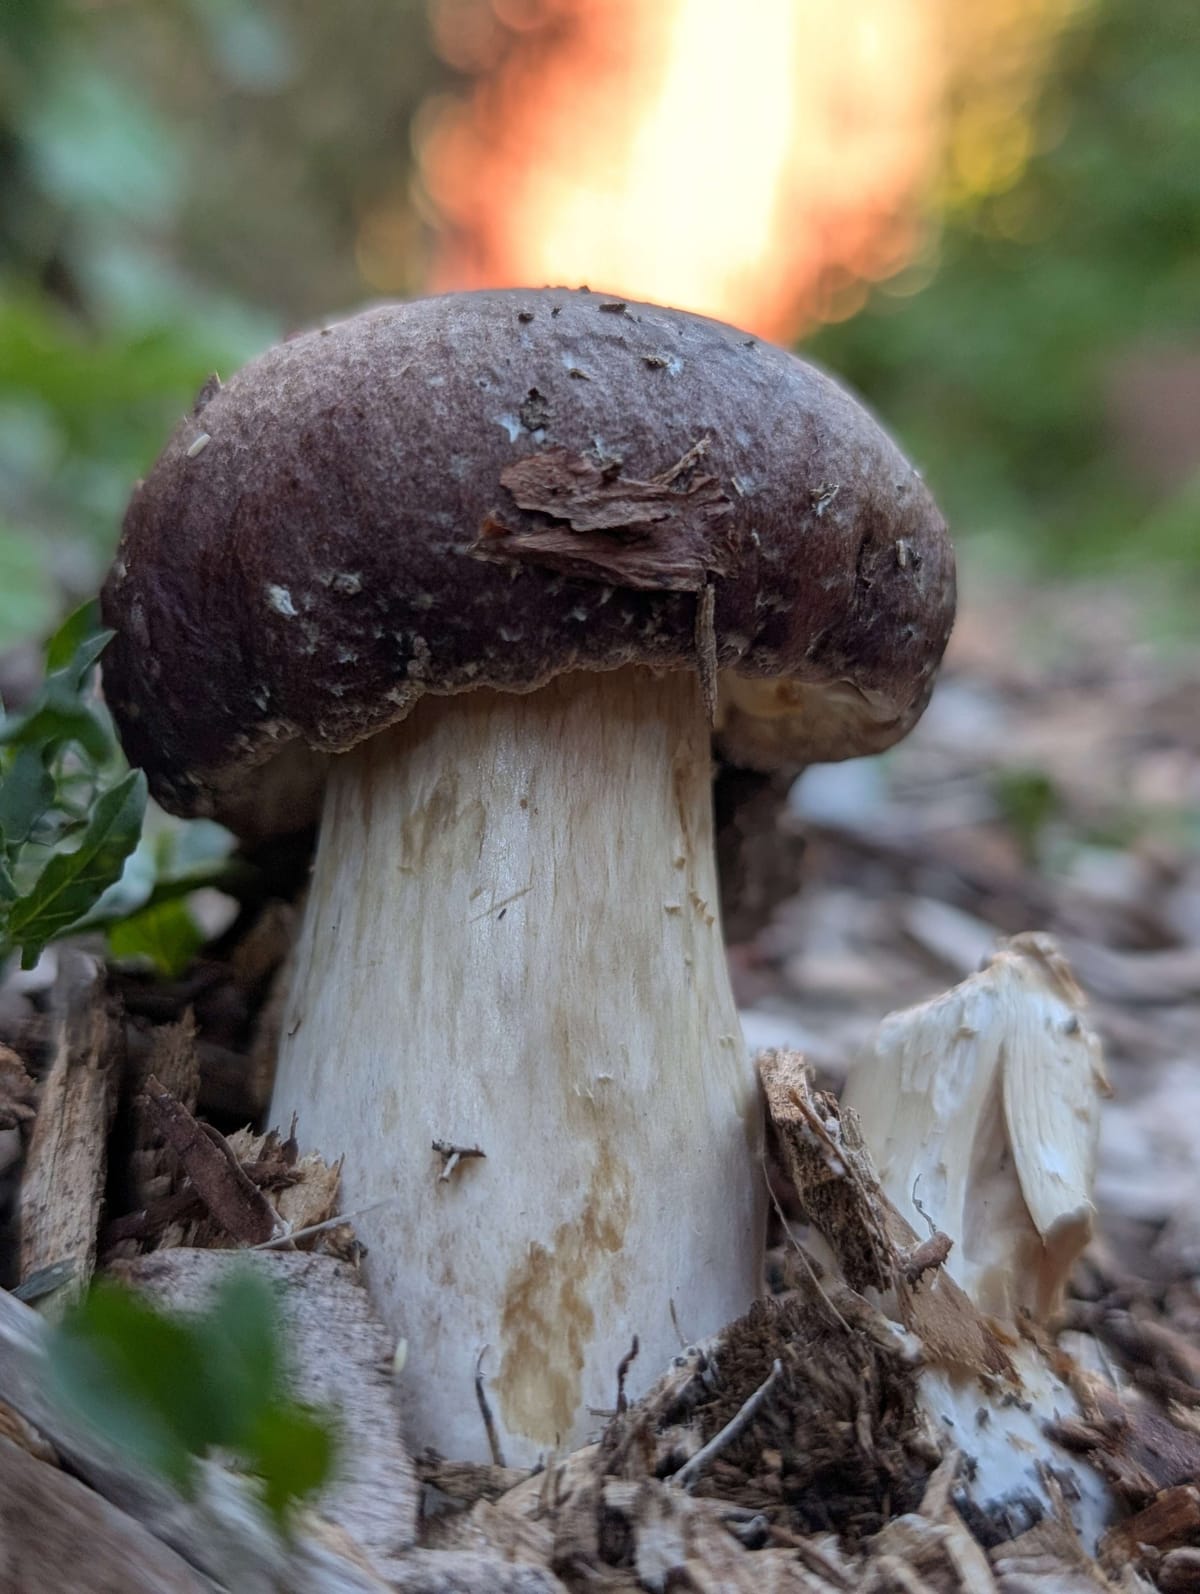
Happy National Mushroom Day! The fall mushroom season is getting started in the PNW. Recently, I started to see some wine cap mushrooms pop up in my community garden plot, and I wanted to provide a brief overview on how I grew them.
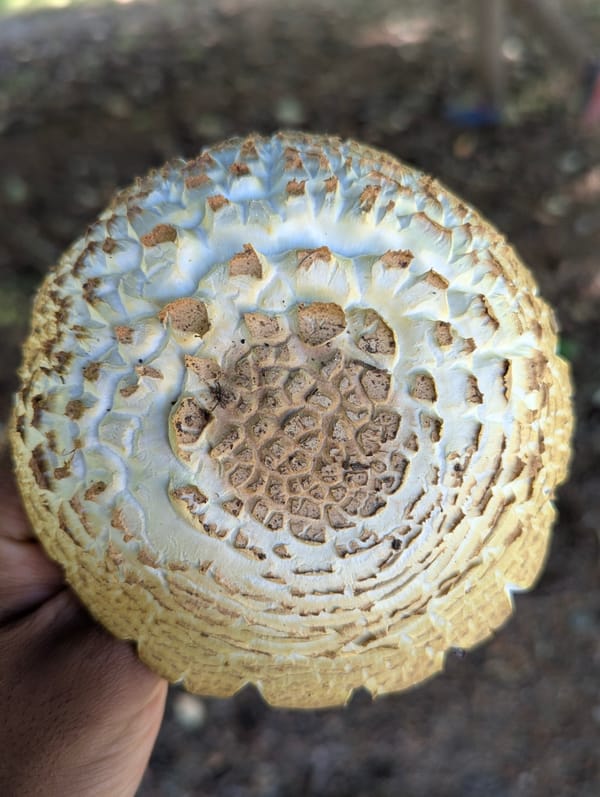
Stropharia rugosoannulata is also known as the garden giant or wine cap mushroom. It's a gourmet mushroom that grows vigorously on wood chips and straw outdoors. This was my first attempt growing them, and it was pretty simple. I started the bed in May of 2026, and I harvested my first mushrooms in September.
Step 1: Place cardboard and hydrate
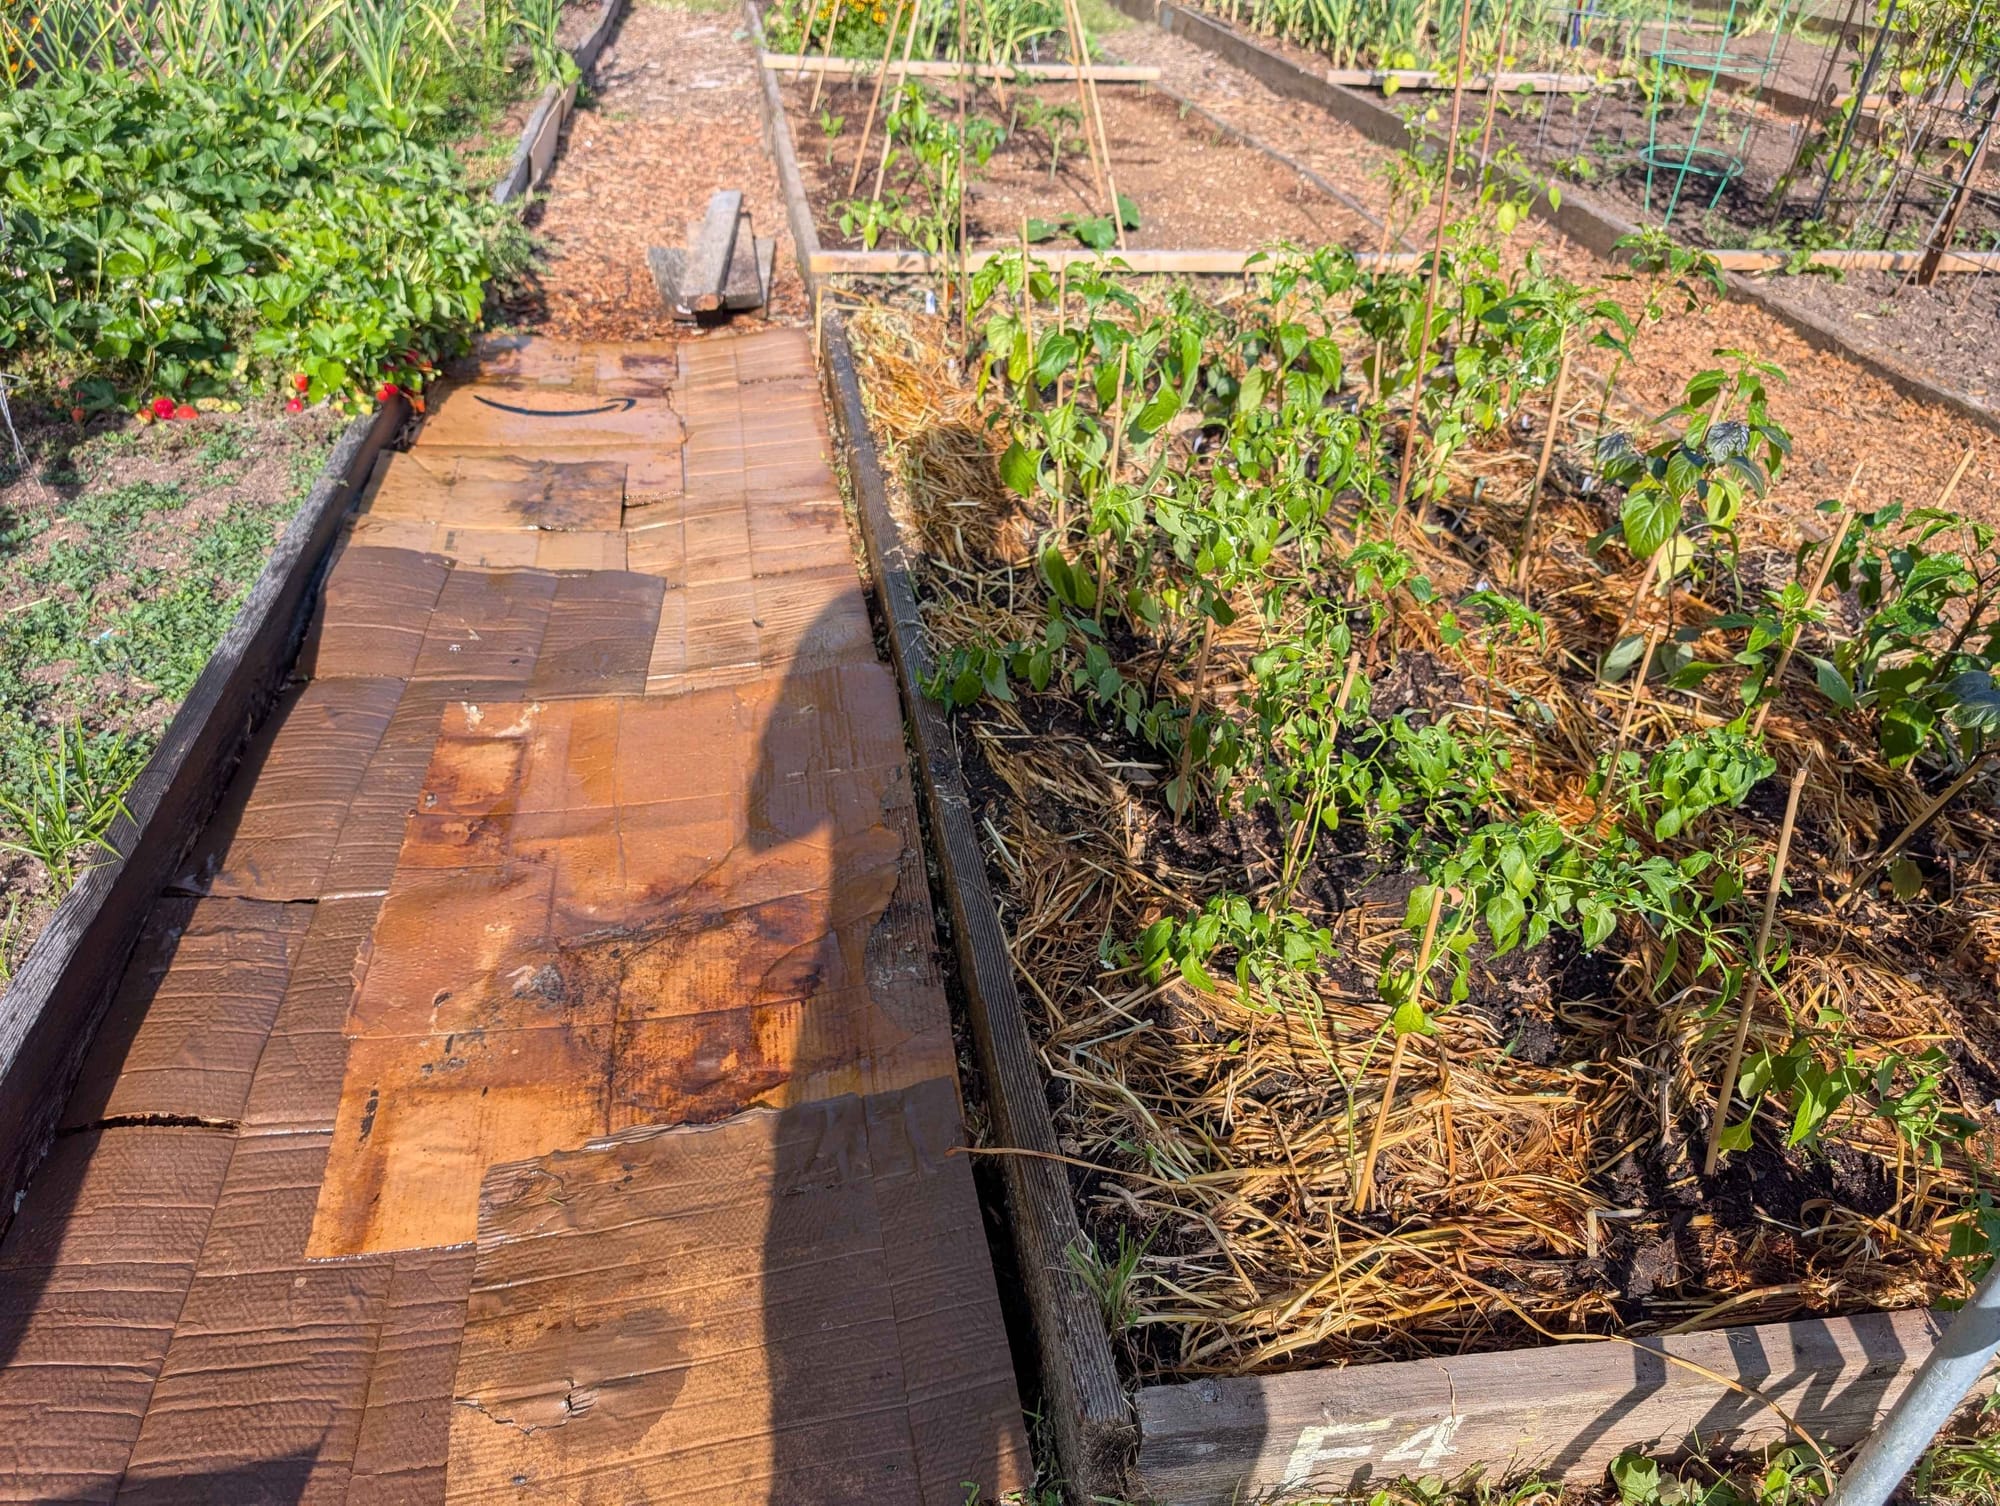
Not only does the cardboard act as a weed suppressant, it also acts as a substrate for growing the wine cap mushrooms. The mycelium can colonize and break down the cardboard quicker than the wood chips, and it holds moisture beneath the wood chips.
Step 2: Add a layer of mushroom spawn
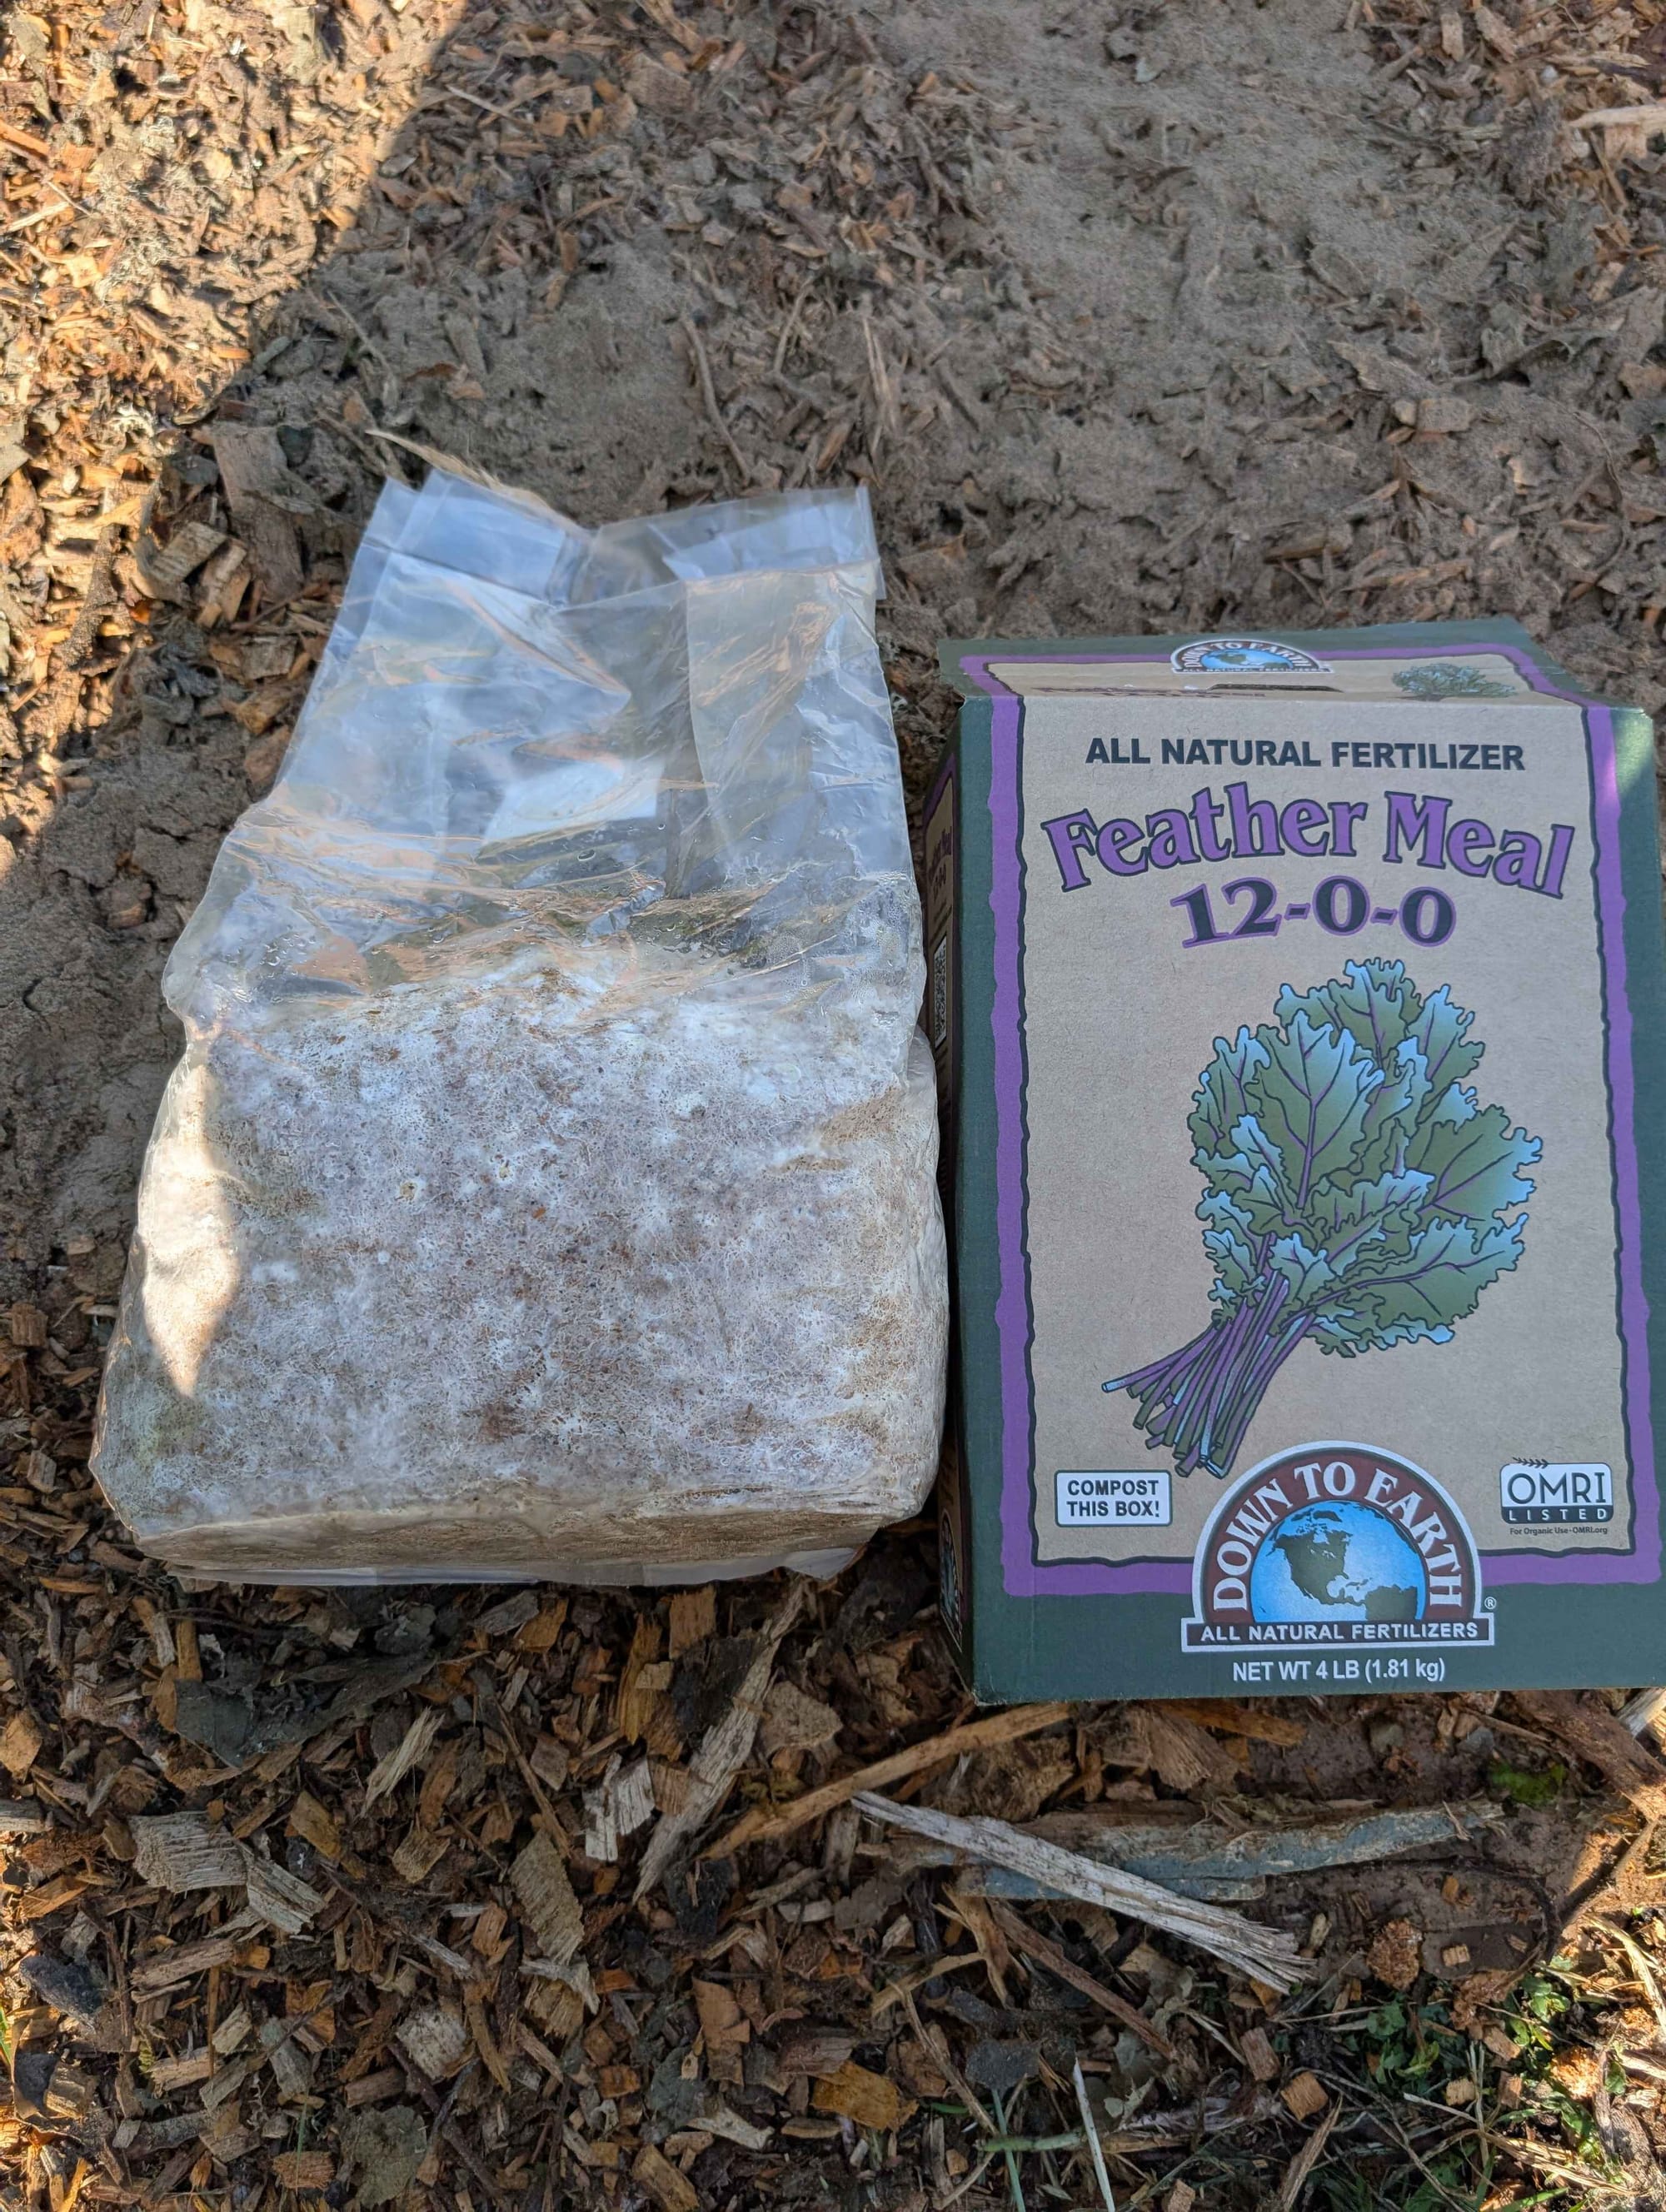
I broke up the mushroom spawn and sprinkled an even layer above the cardboard. I also supplemented the spawn with a small amount of organic feather meal to add nitrogen in hopes of increasing yield based on the publication below:
Zhang, Wei-Wei, Ya-Jing Zhao, Qing-Jun Chen, Xi-Shan Gong, Ding-Gao Xu, Jia-Shu Li, Nian-Zu Li, Shu-Ning You, and Guo-Qing Zhang. 2026. "Protein-Rich Supplements Improved the Agronomic and Nutritional Quality of Stropharia rugosoannulata." Agriculture 16, no. 3: 381. https://doi.org/10.3390/agriculture16030381
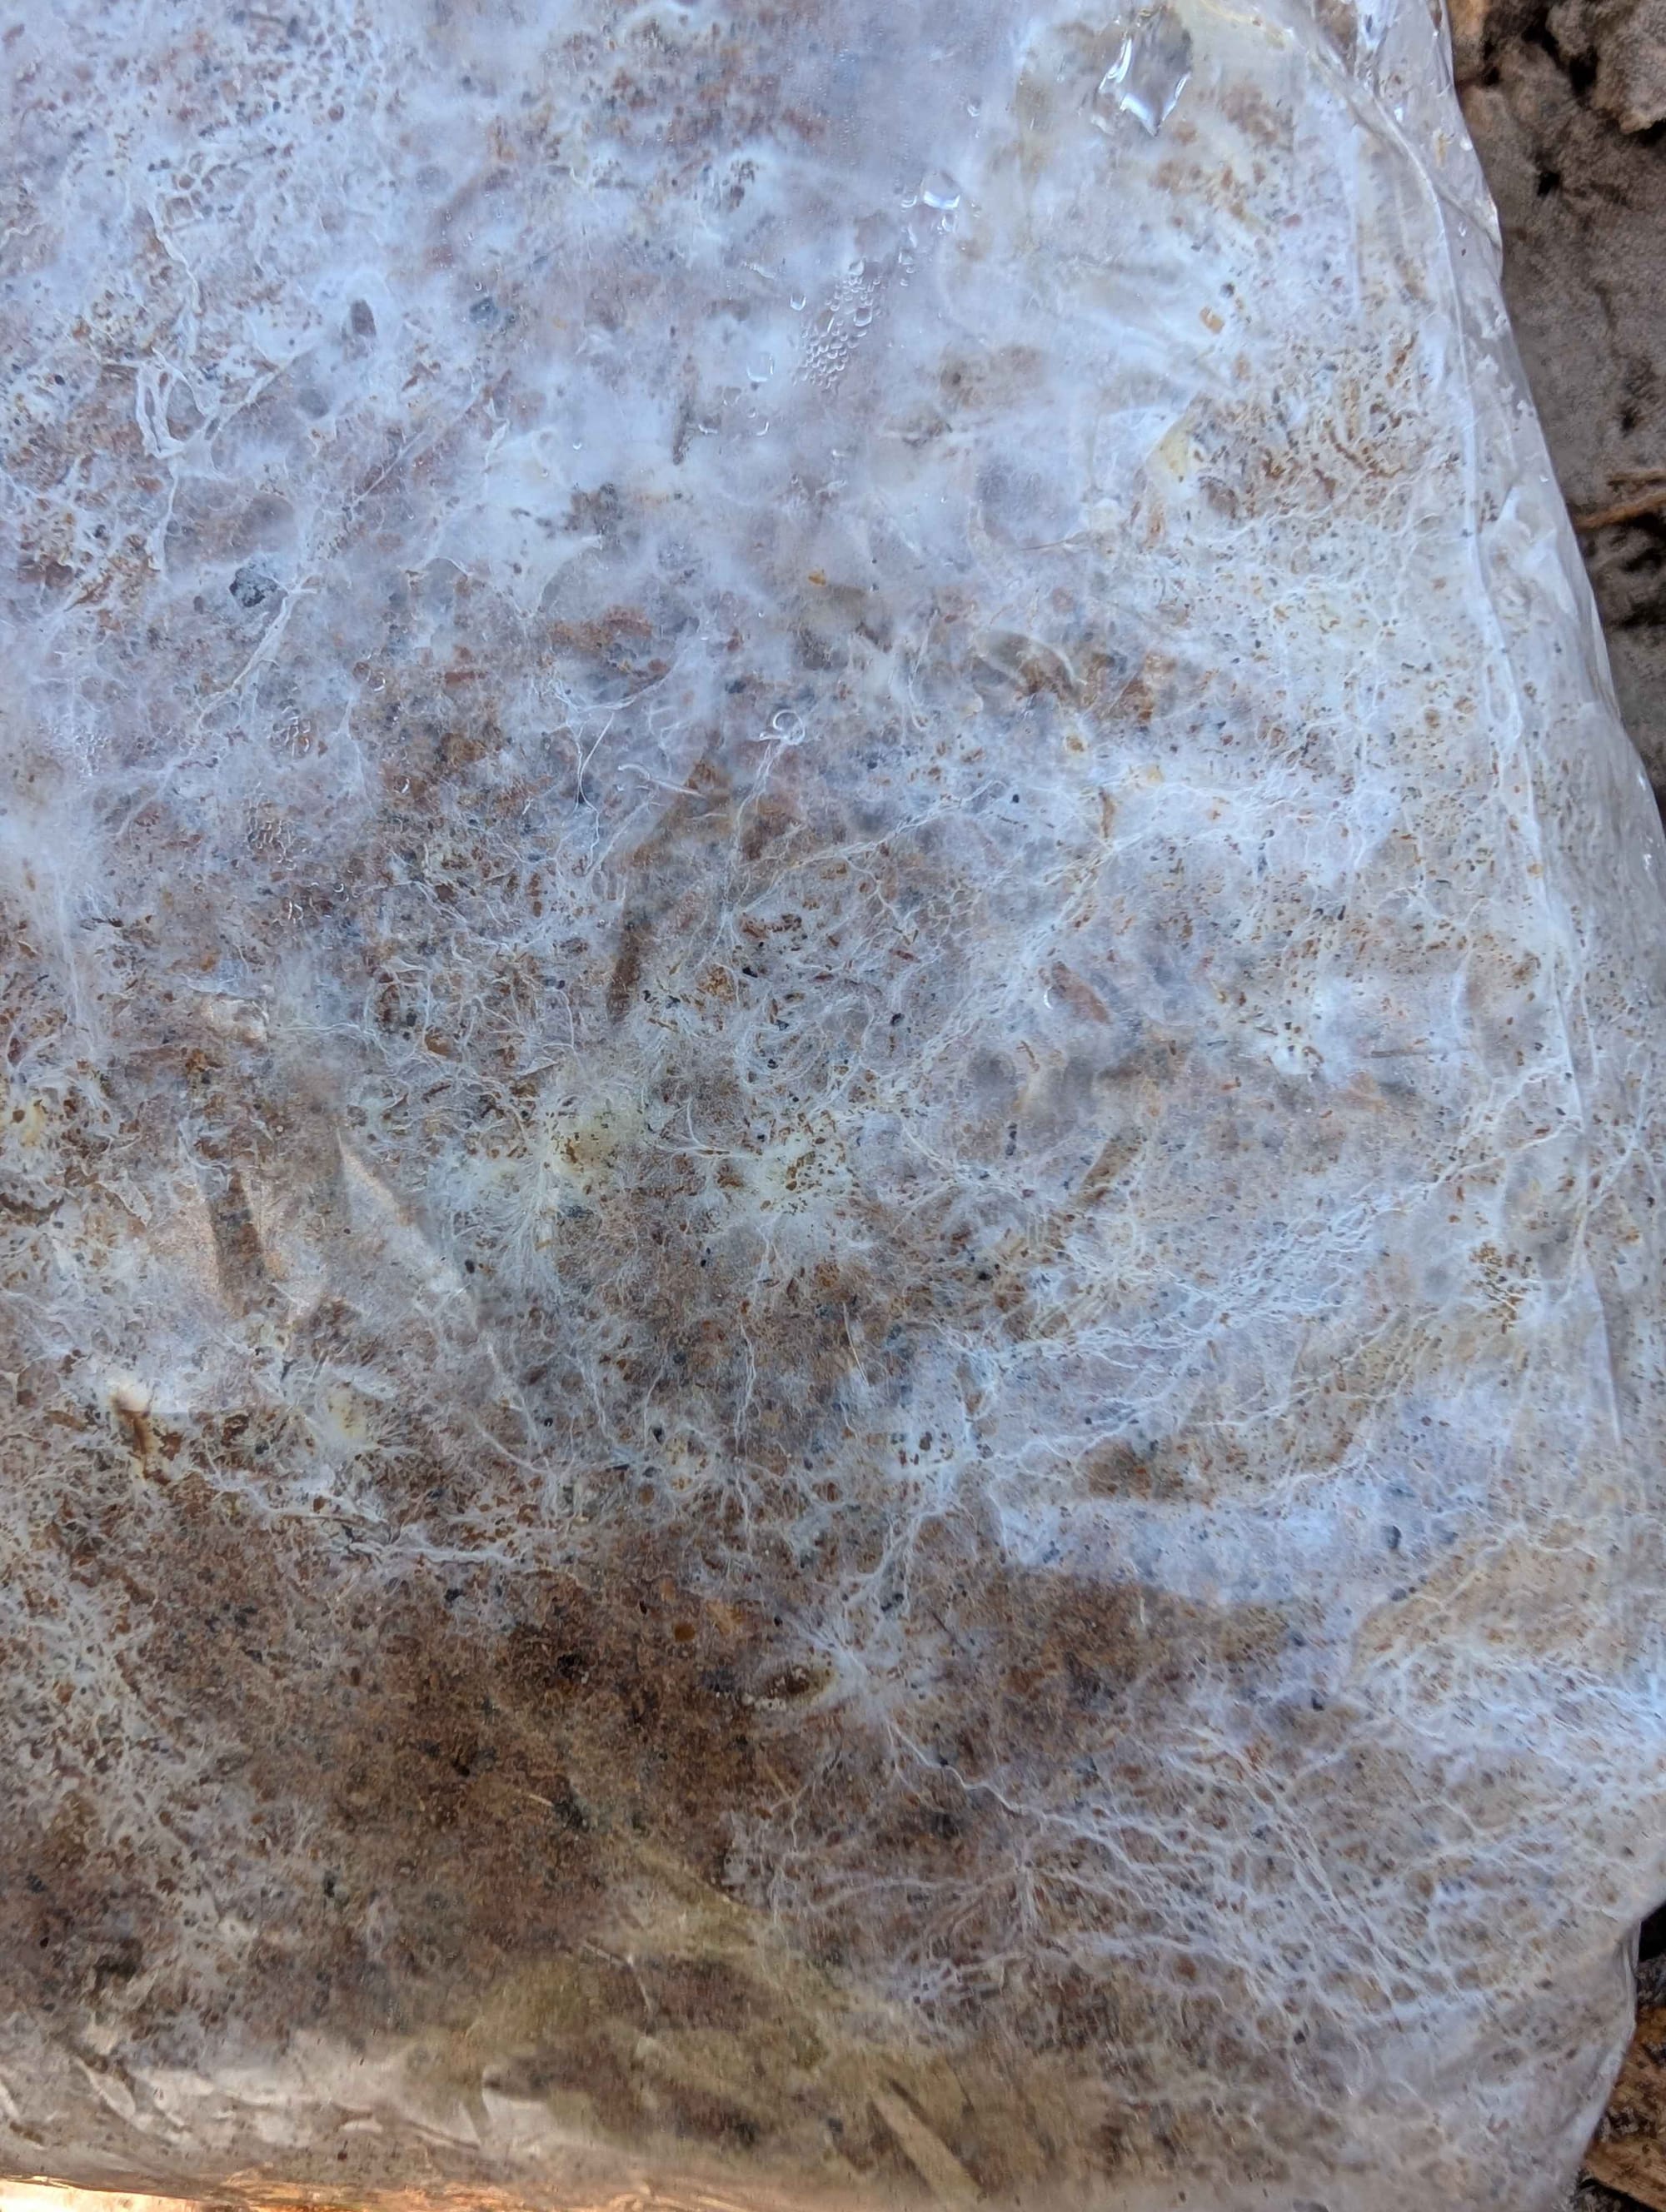
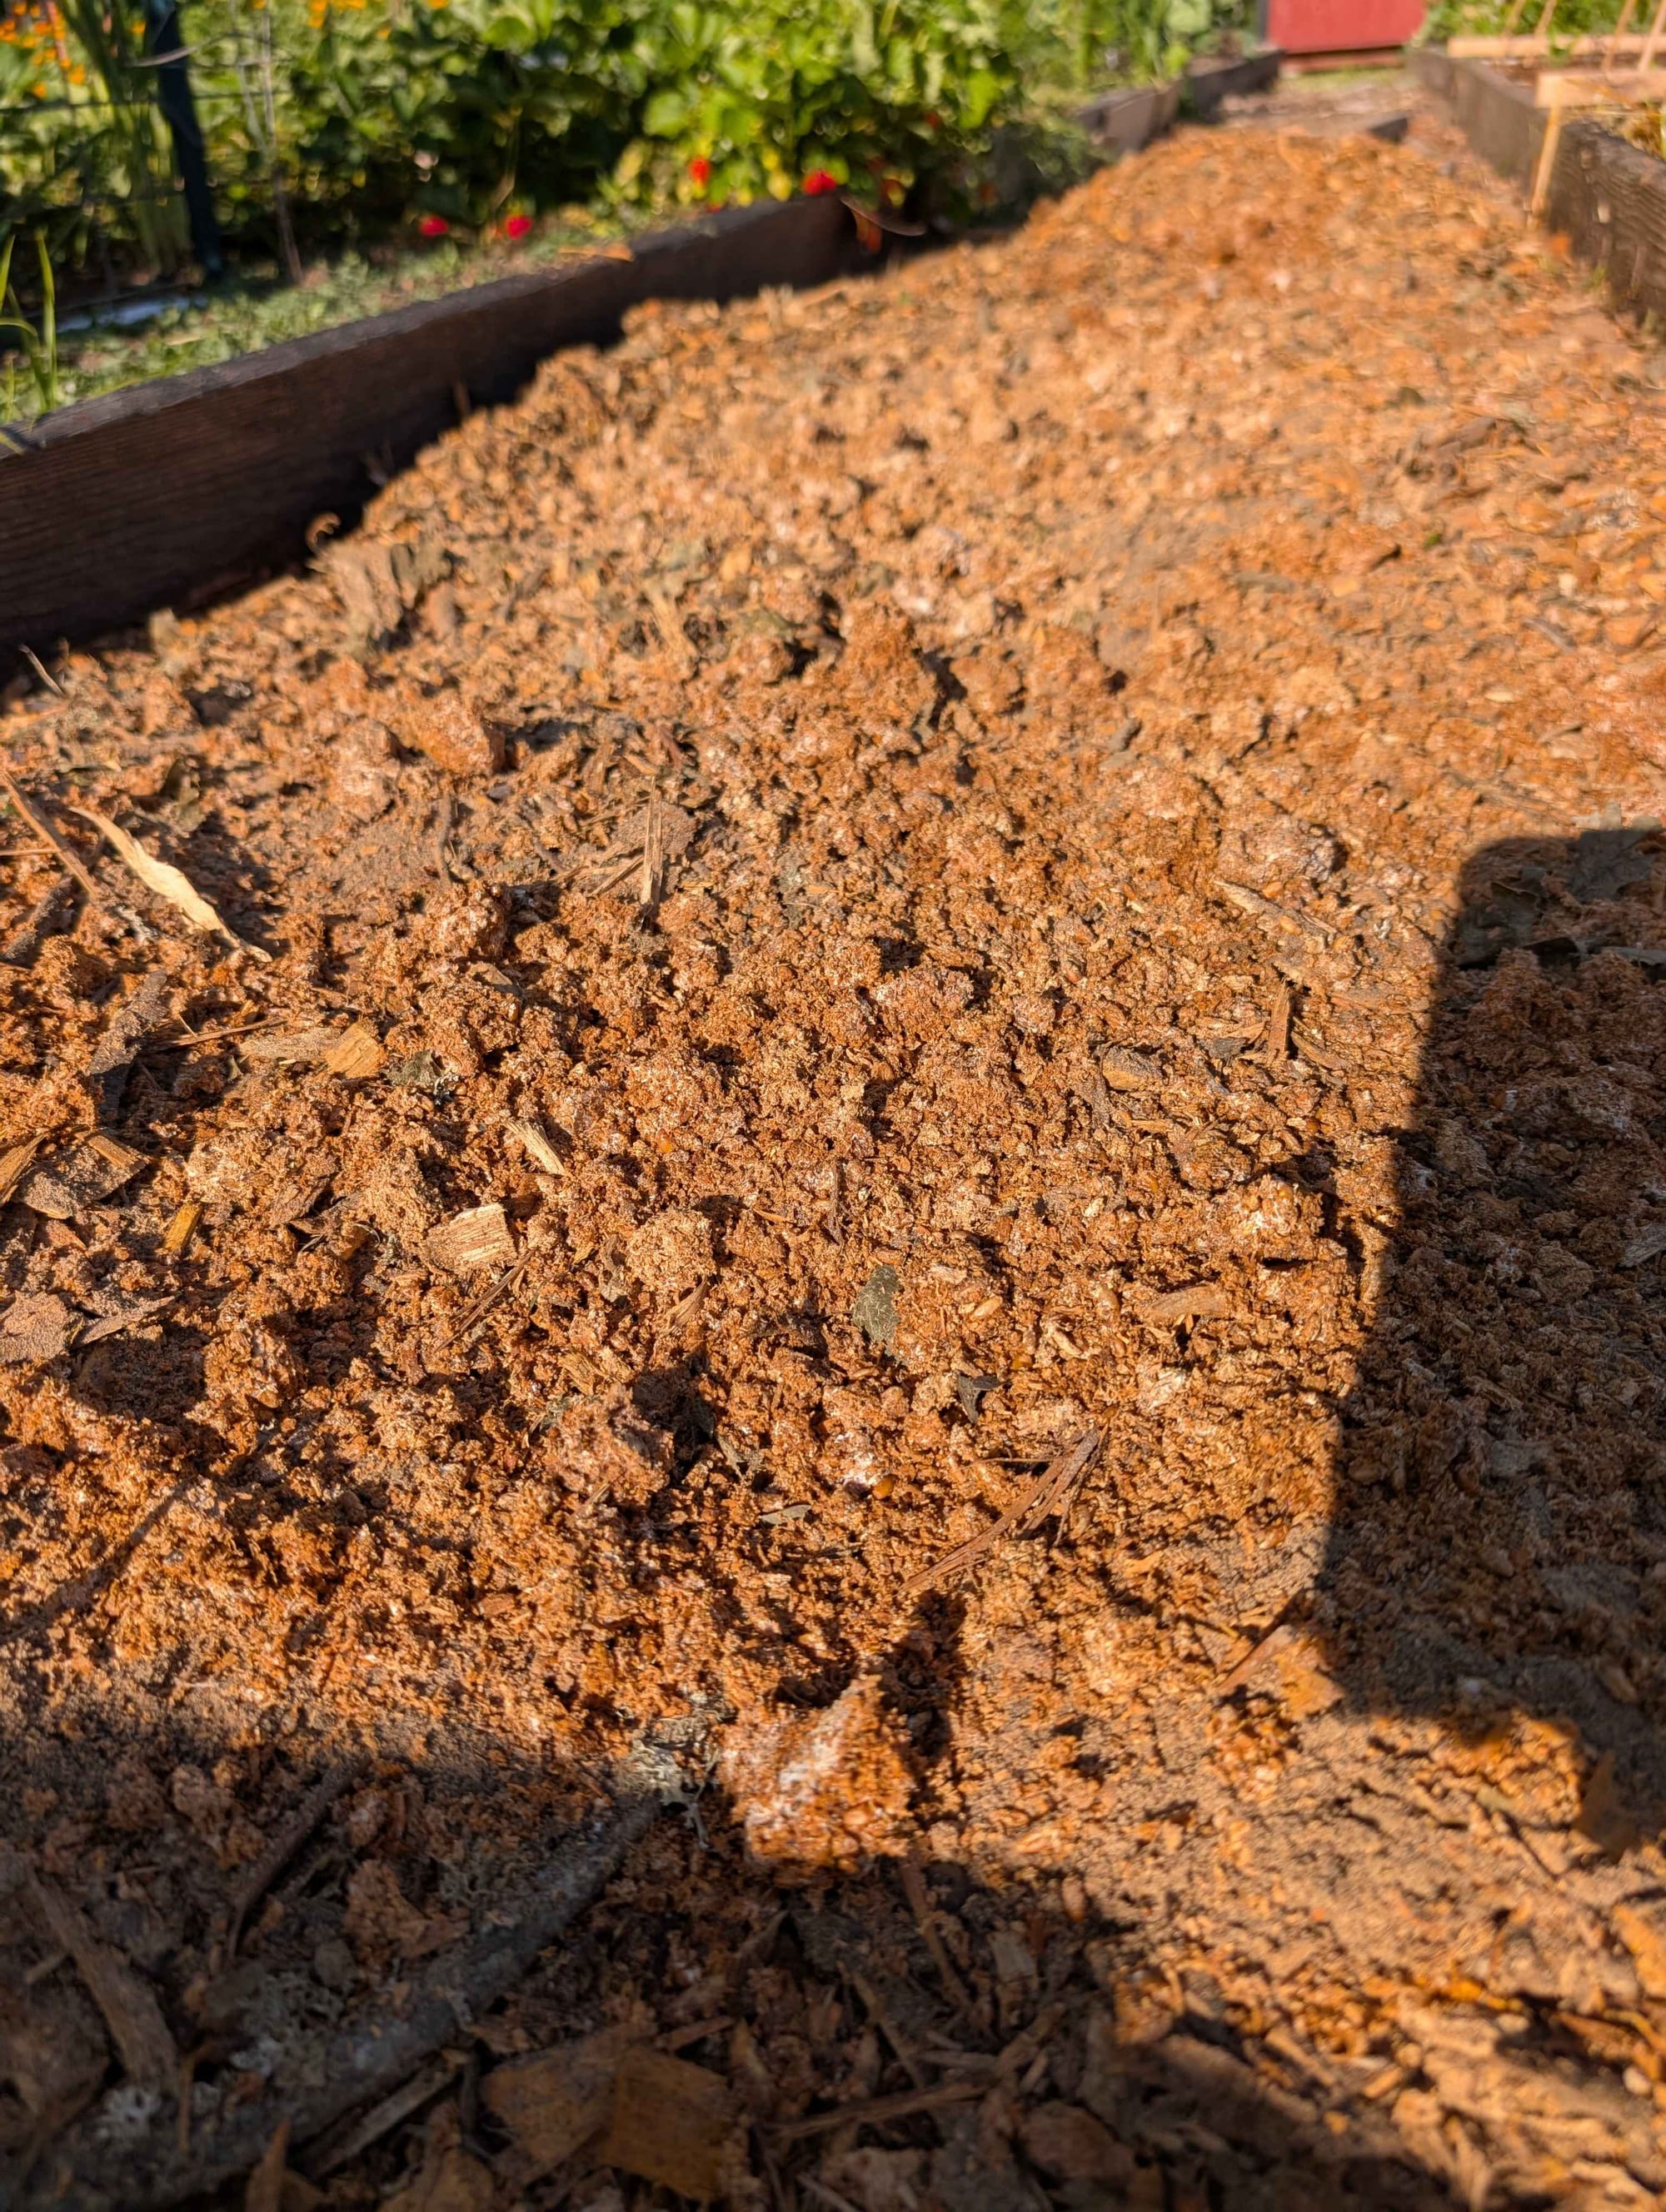
Step 3: Alternate layers of mushroom spawn and substrate
In the walking paths, I added alternating layers of mushroom spawn, feather meal, and wood chips. After it reached several inches in height, I hydrated the chips again thoroughly.
Inside the raised bed, I alternated mushroom spawn, feather meal, and straw around my vegetable starts. The straw acts as a weed suppressant and retains moisture, while the plants provide shade to encourage the mushrooms to thrive.
Step 4: Keep the bed hydrated
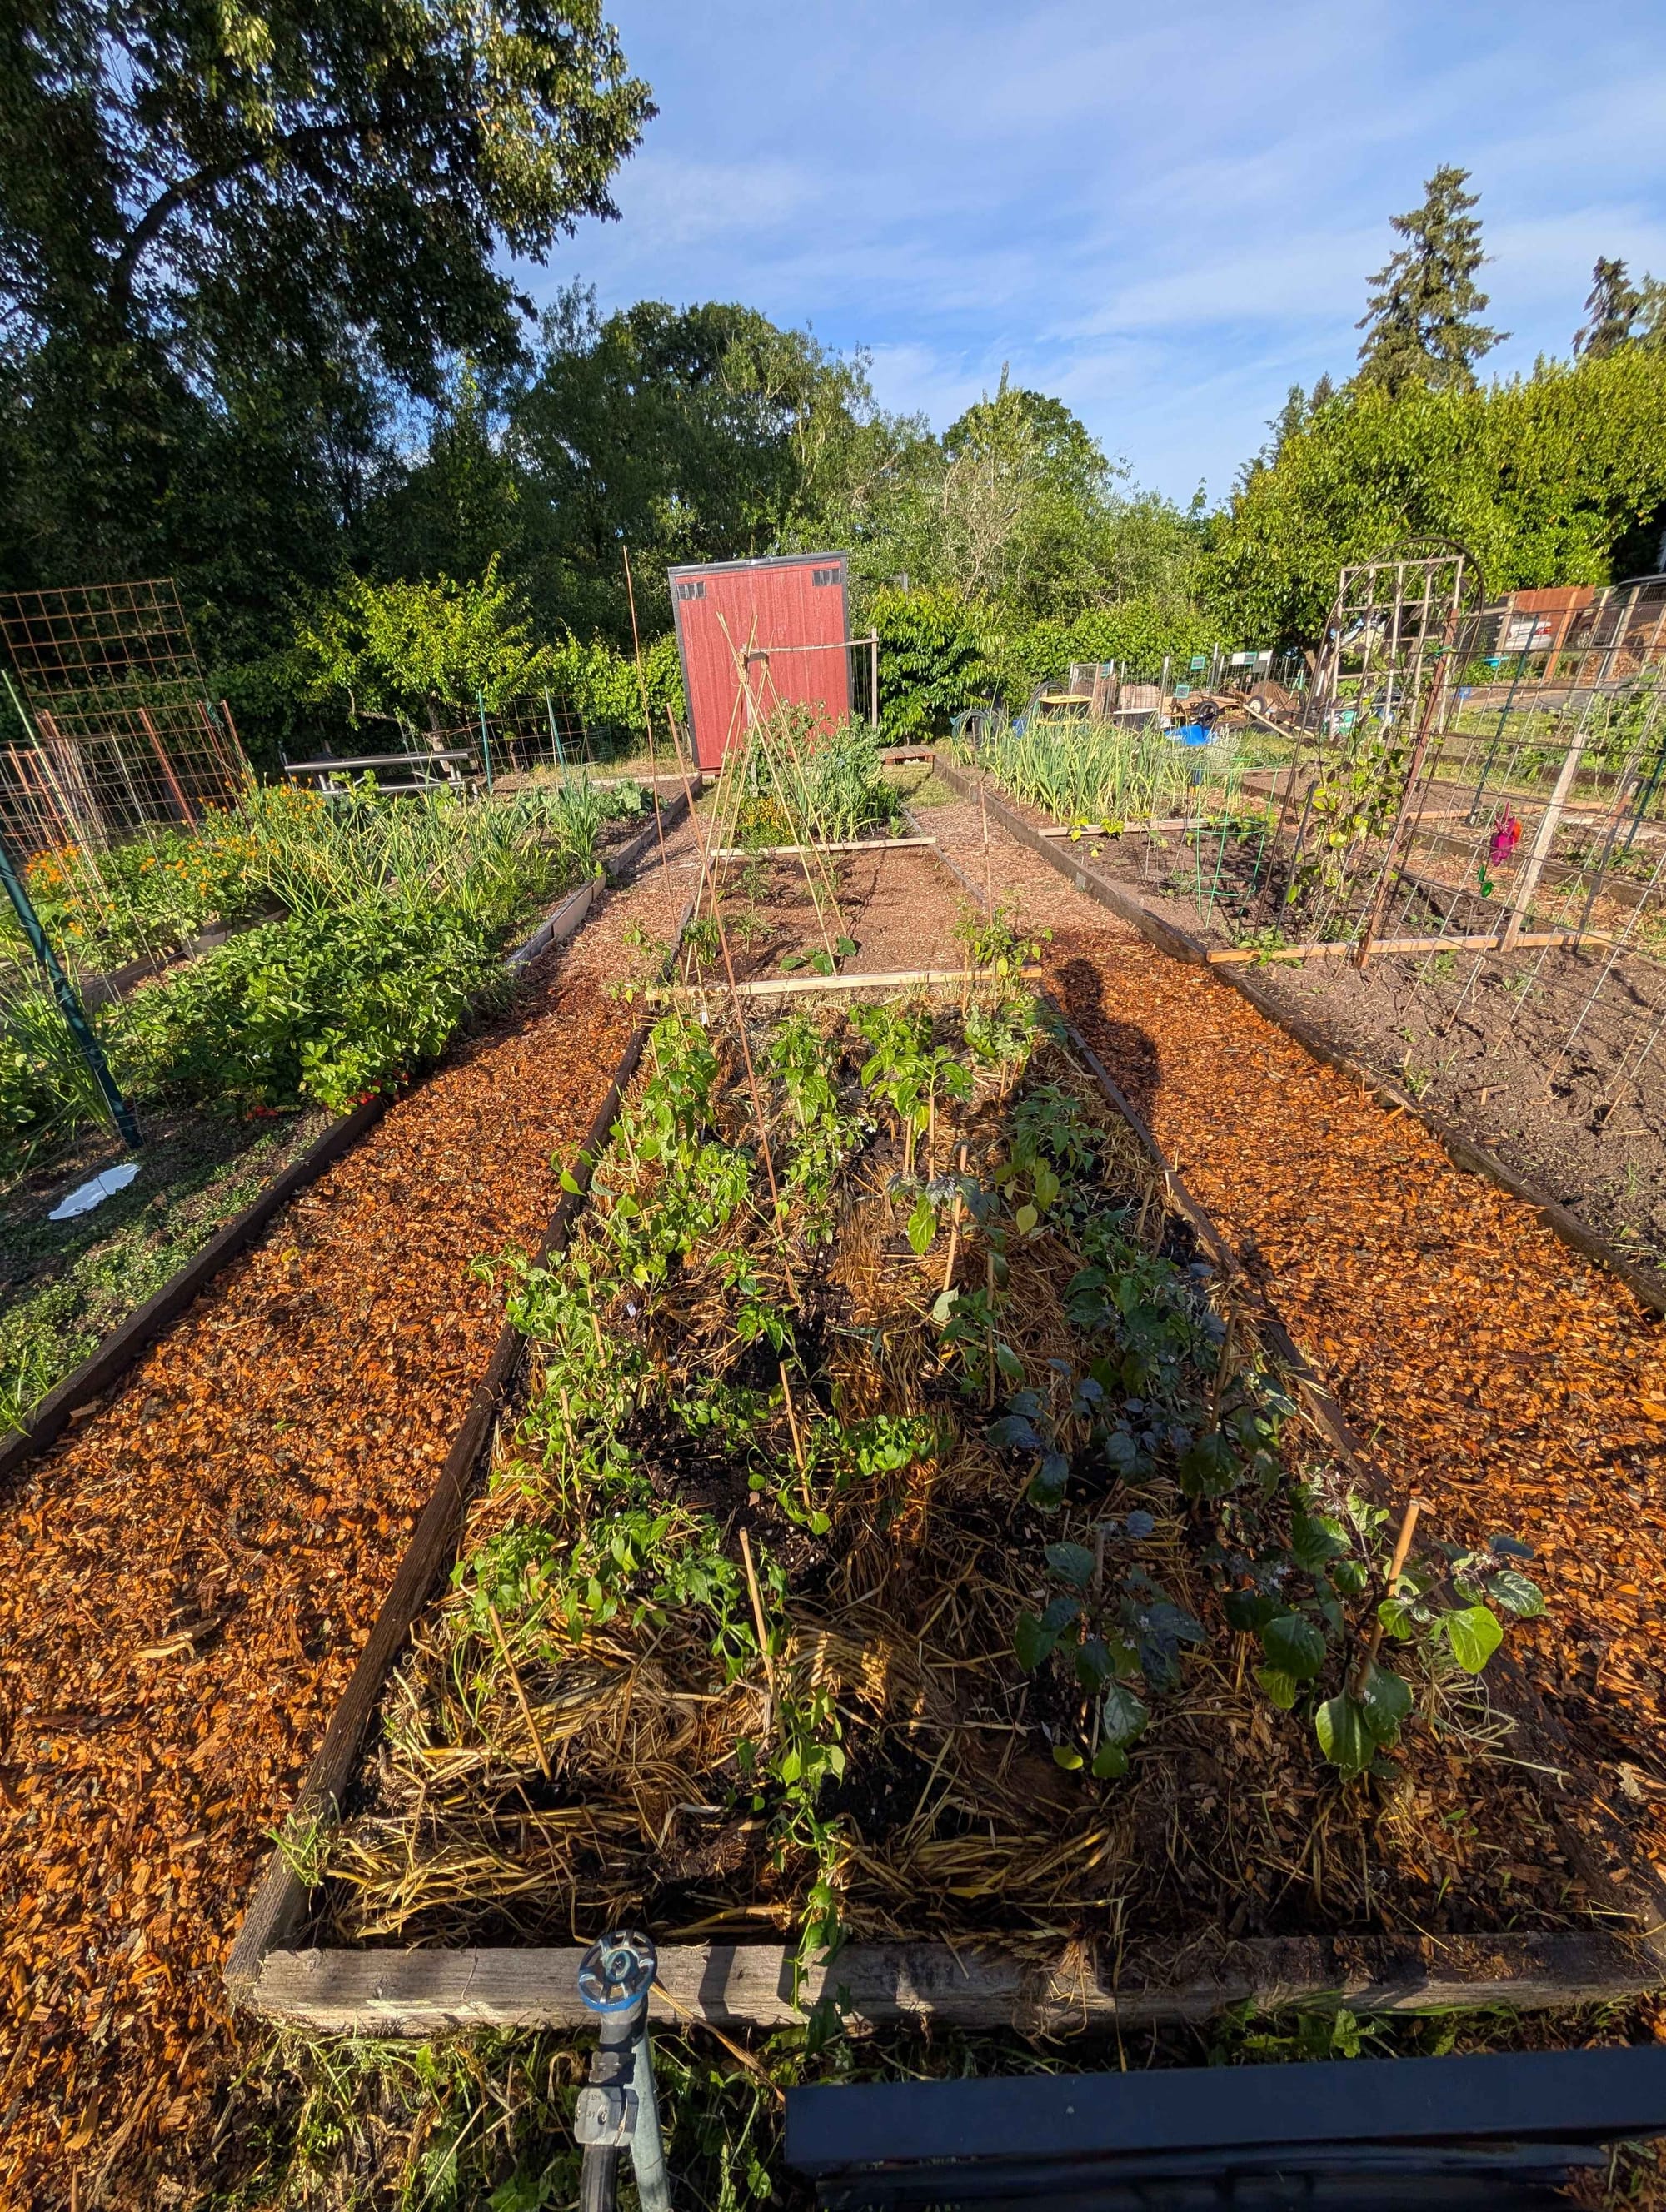
Honestly, I wasn't sure if this would work because the garden gets full sun. Also, I read that wine caps prefer hardwood; however, I used wood chips provided by the city, and I suspect it was a mix of softwood and hardwood.
There wasn't much rain during the summer, so I did water the wood chips occasionally when I watered my veggies, especially during extremely hot days.
Step 5: Enjoy!
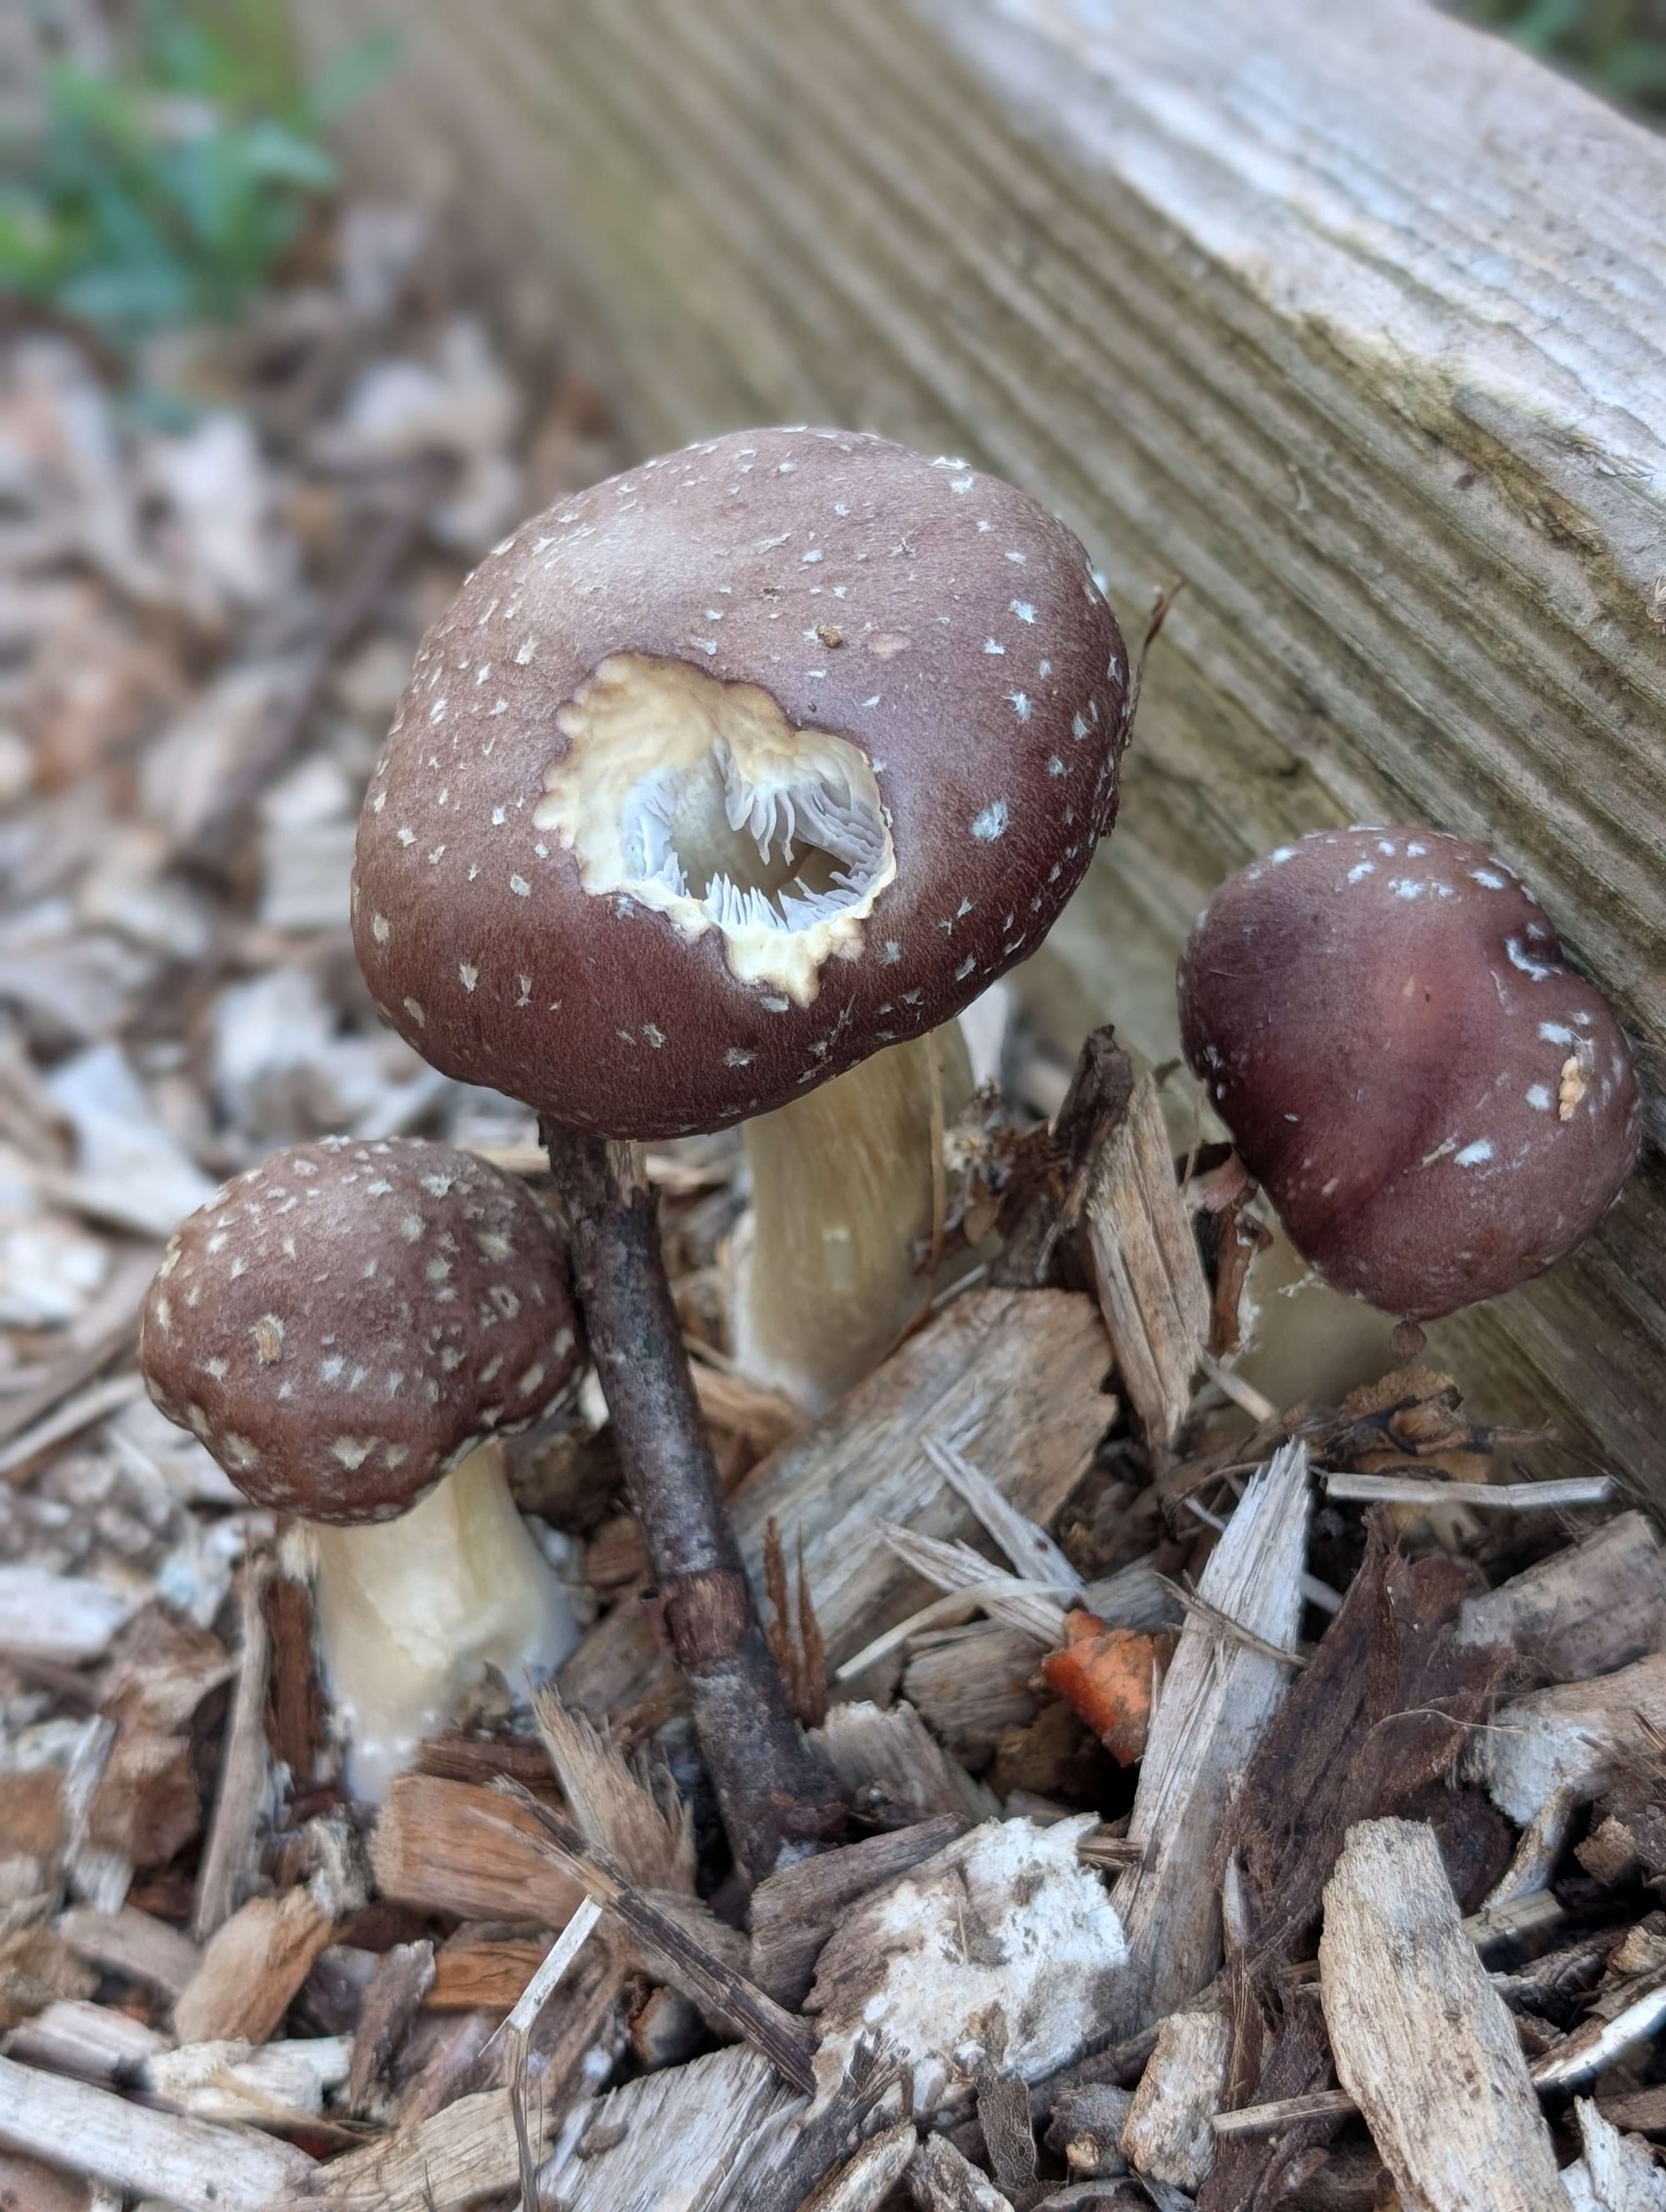
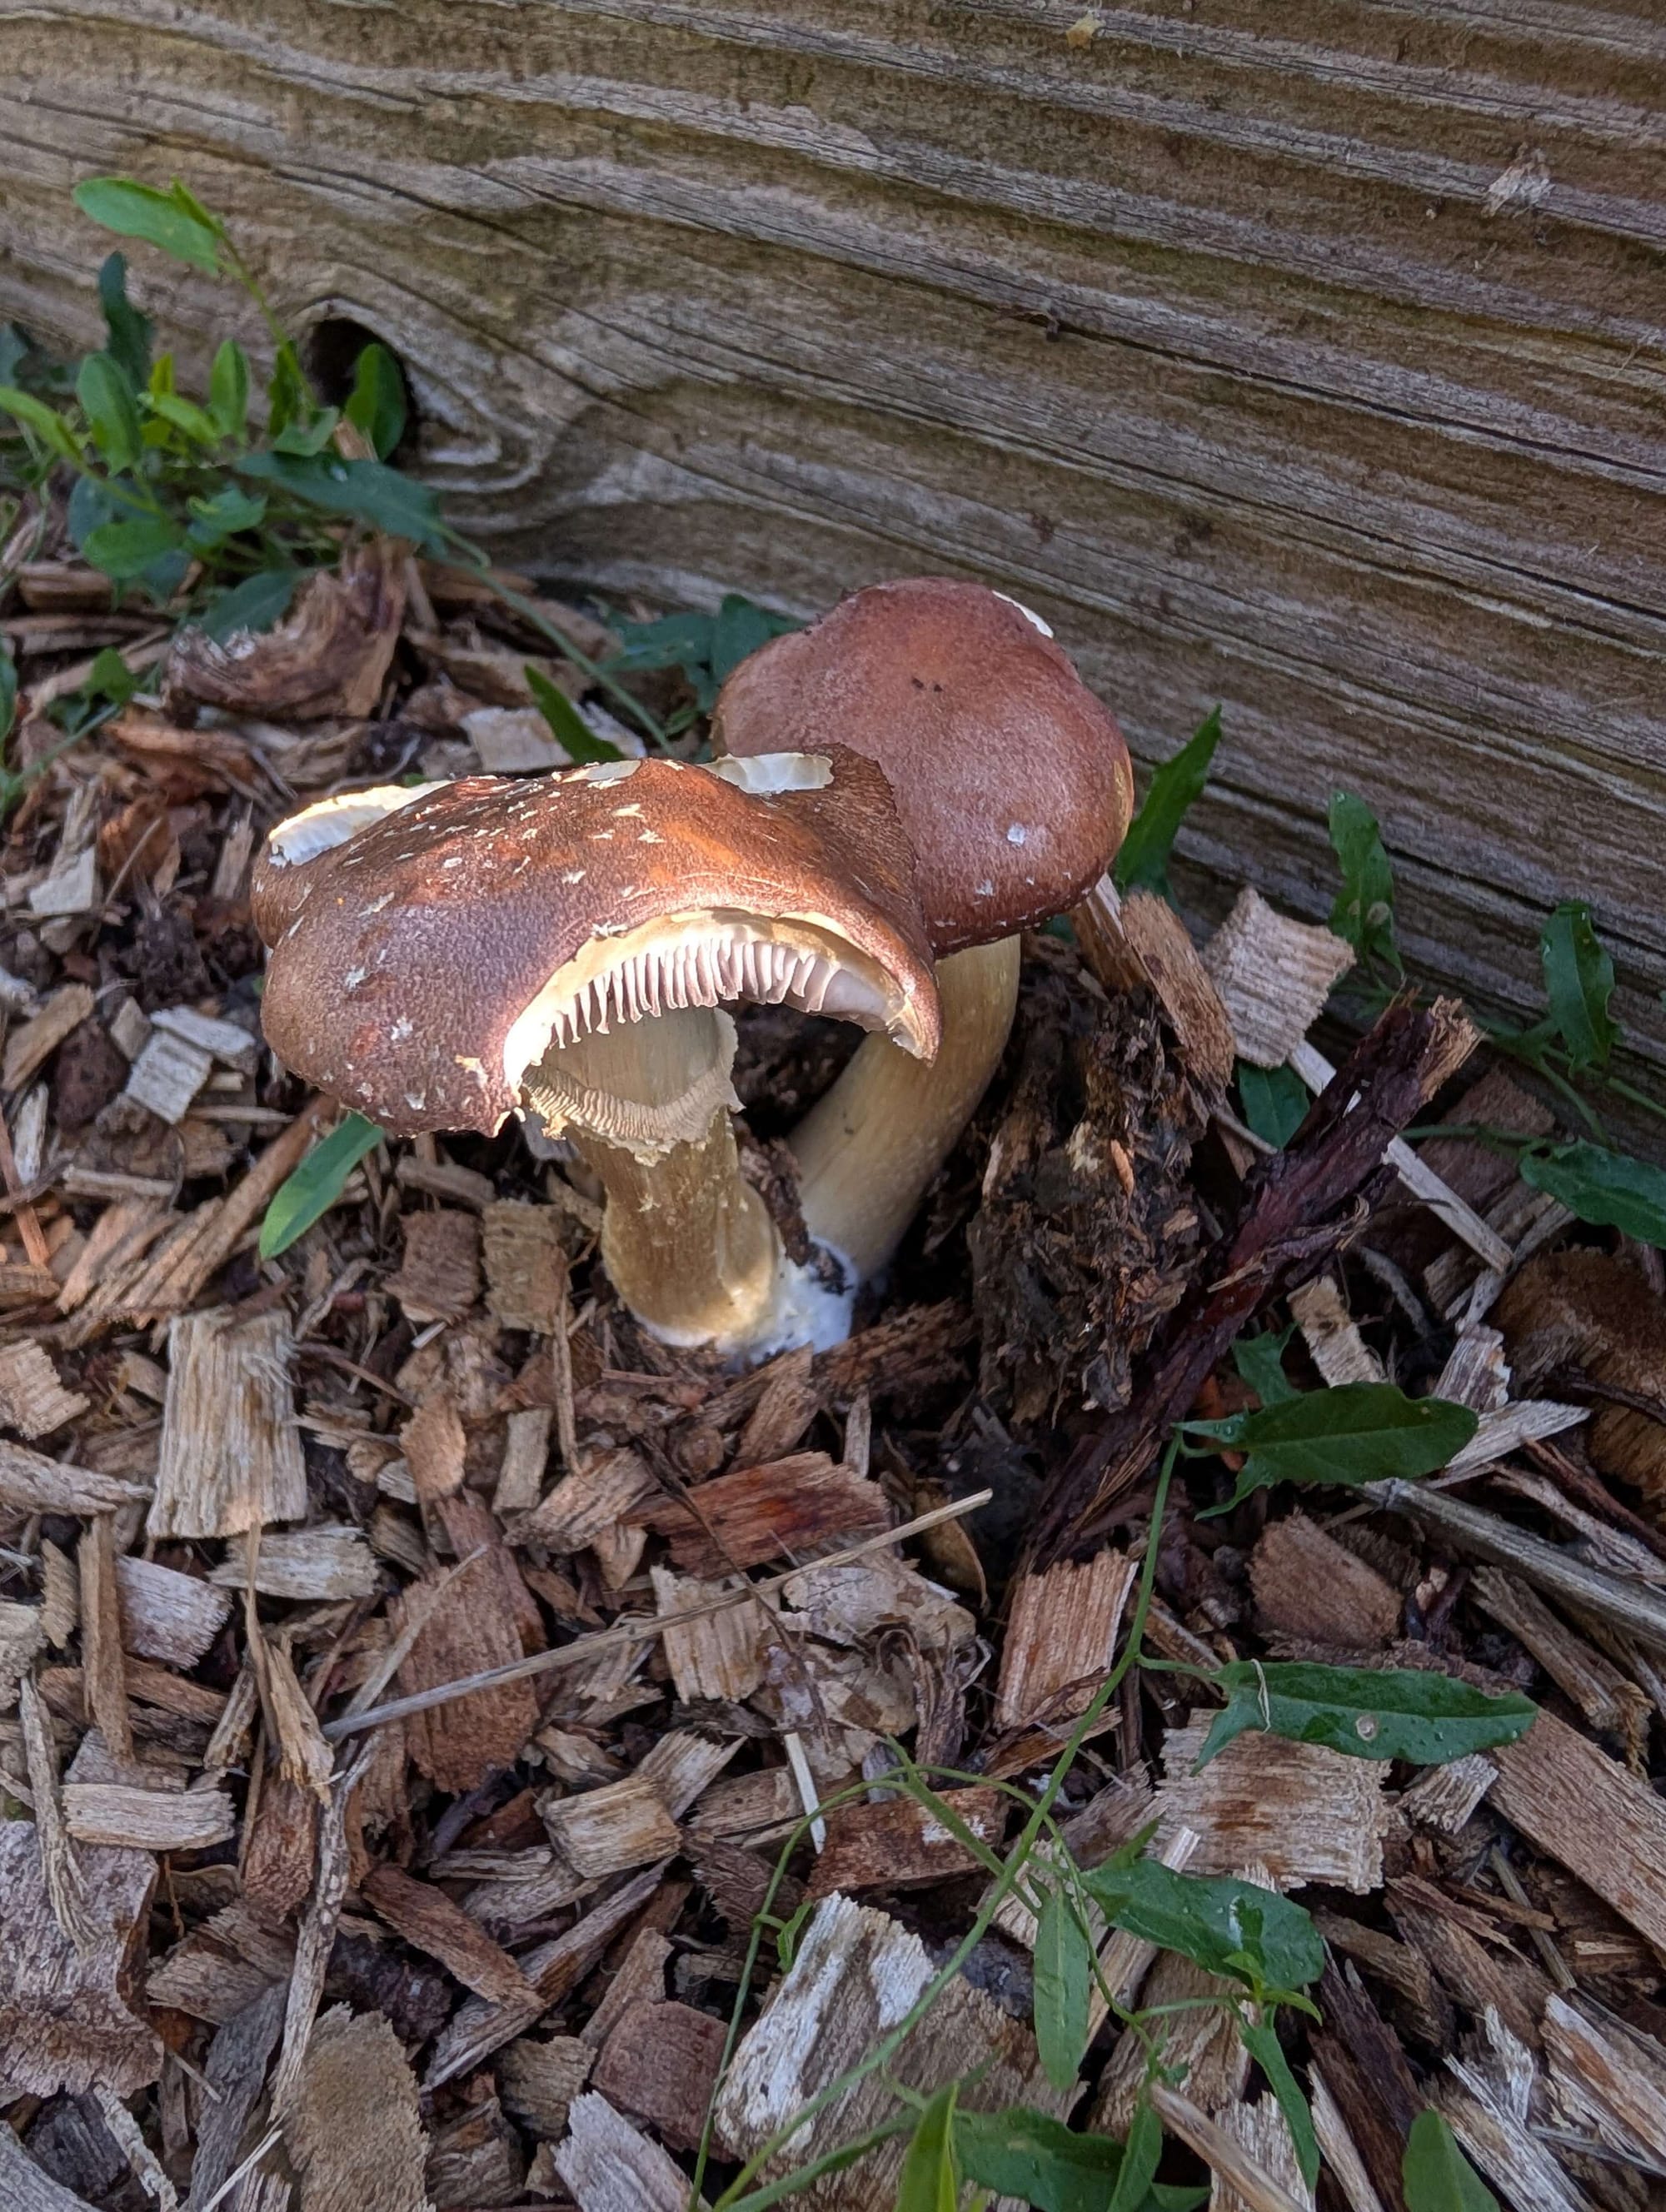
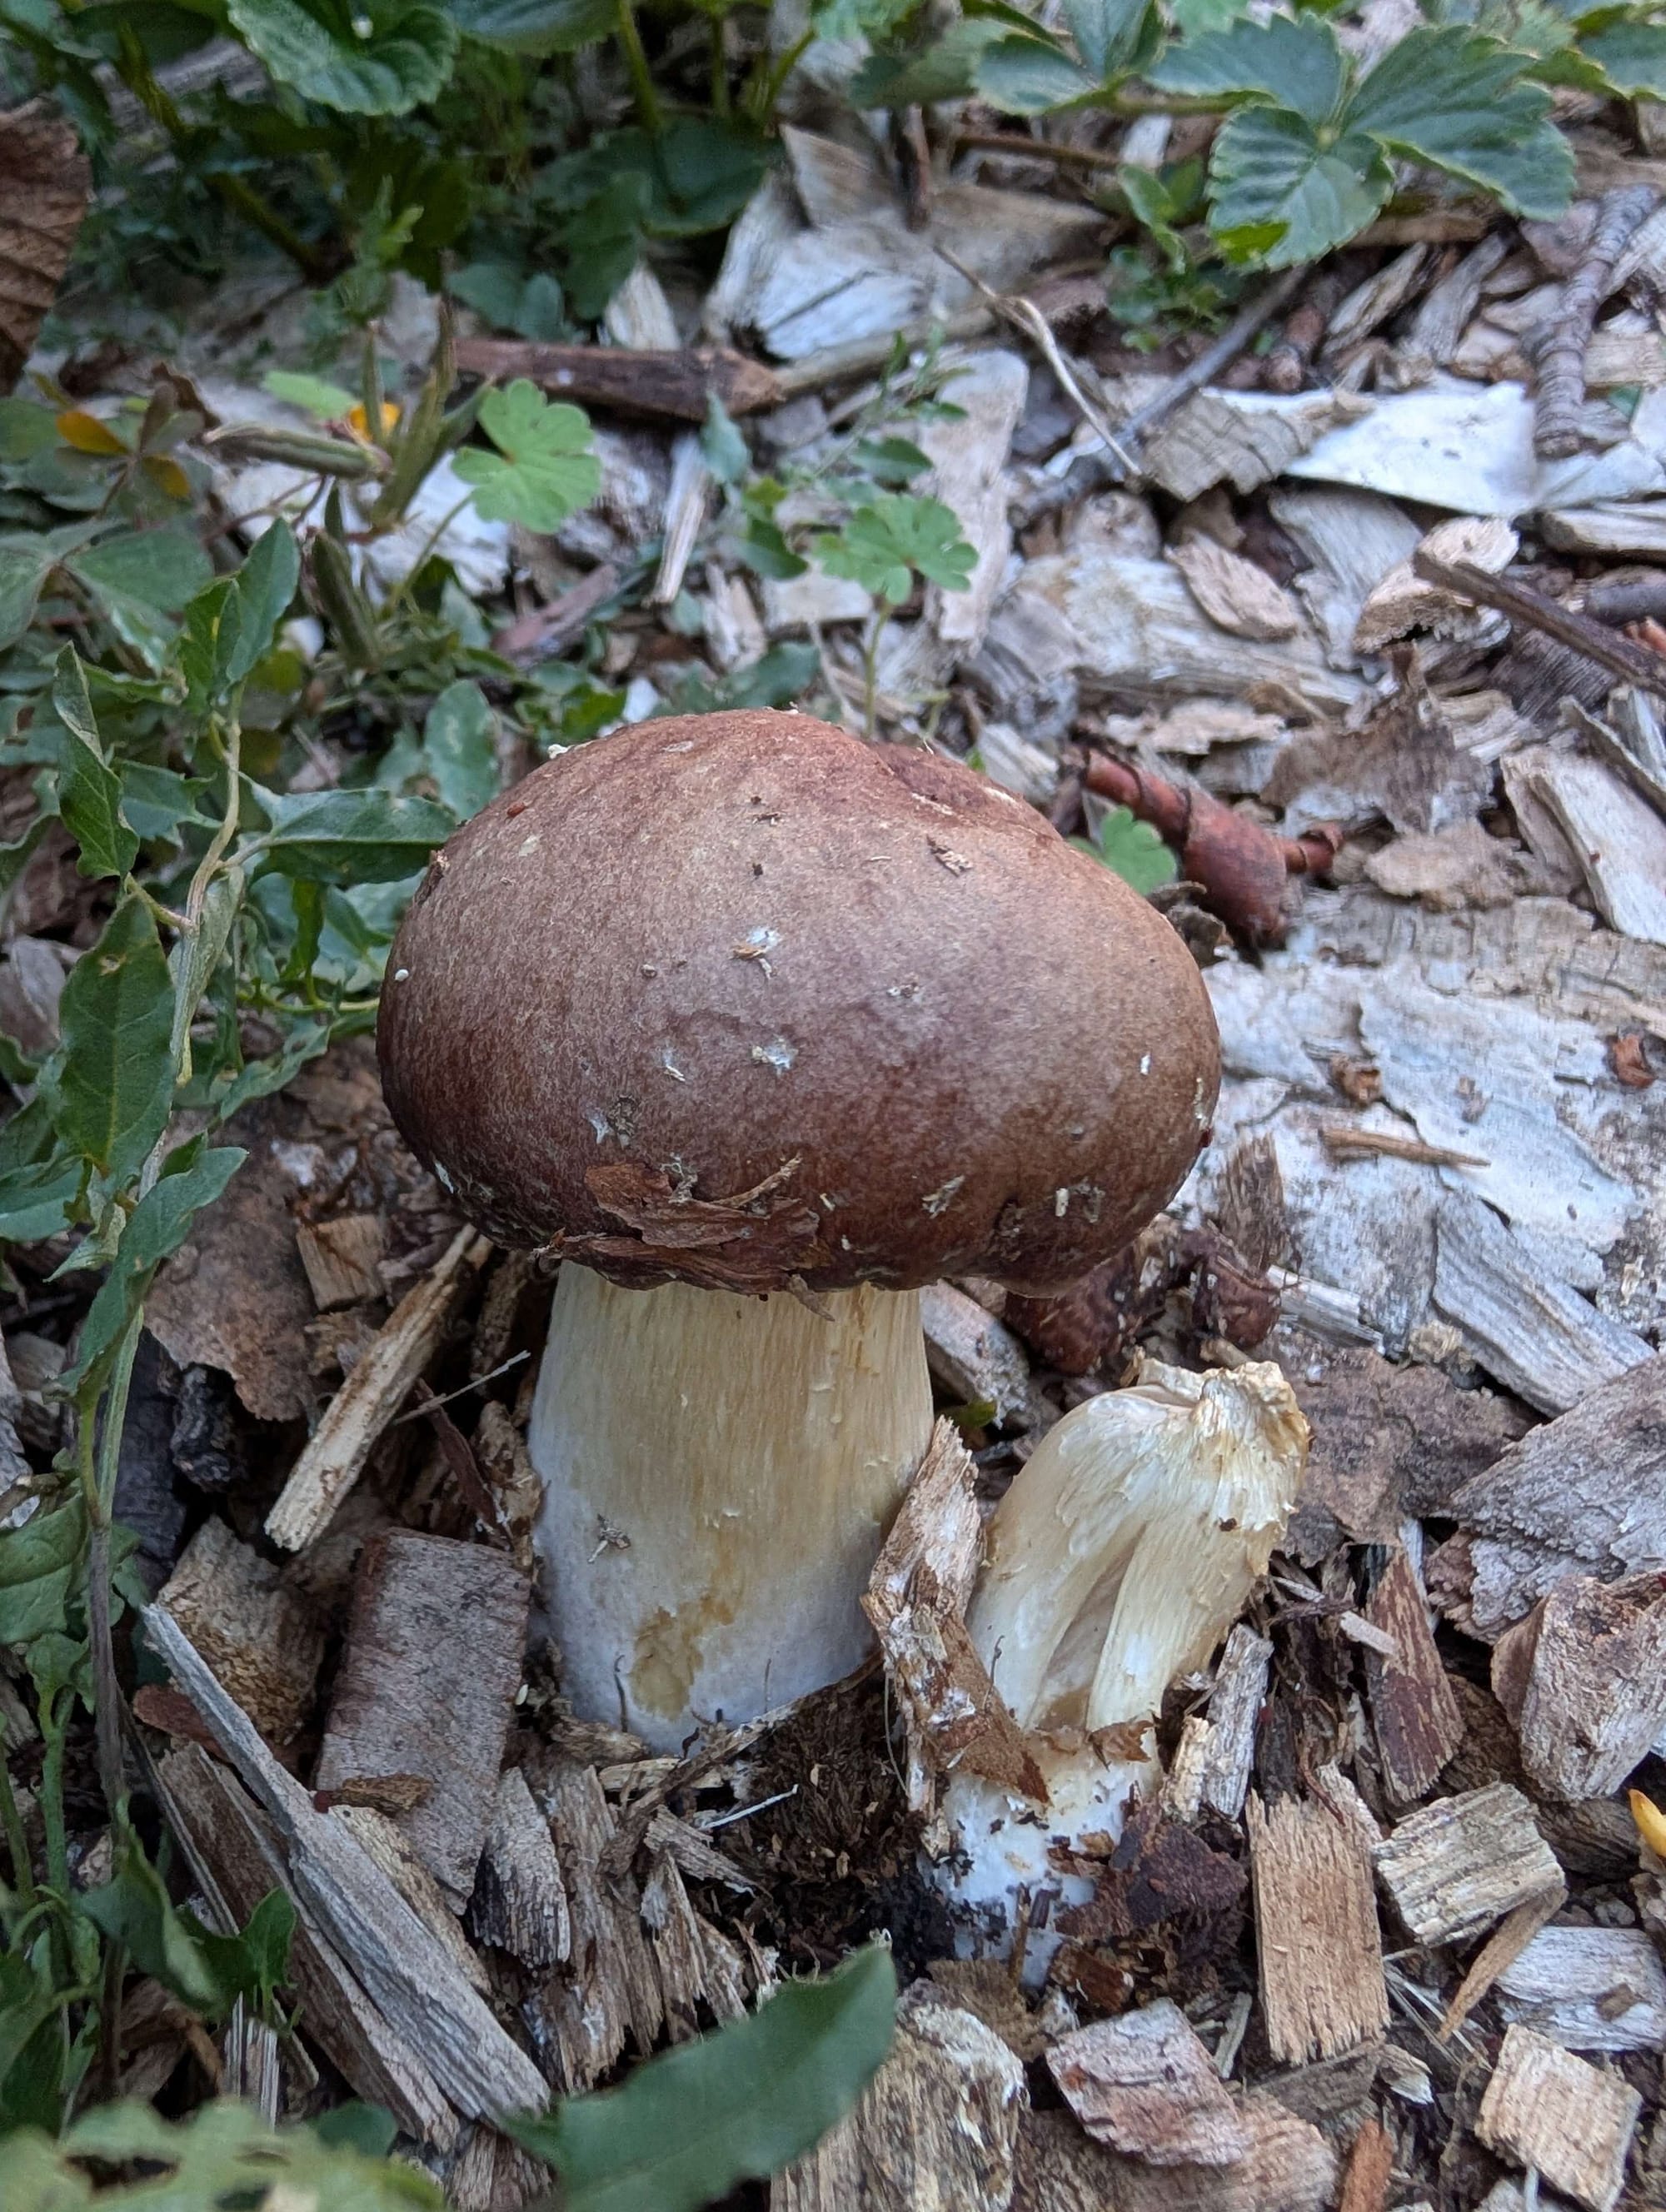
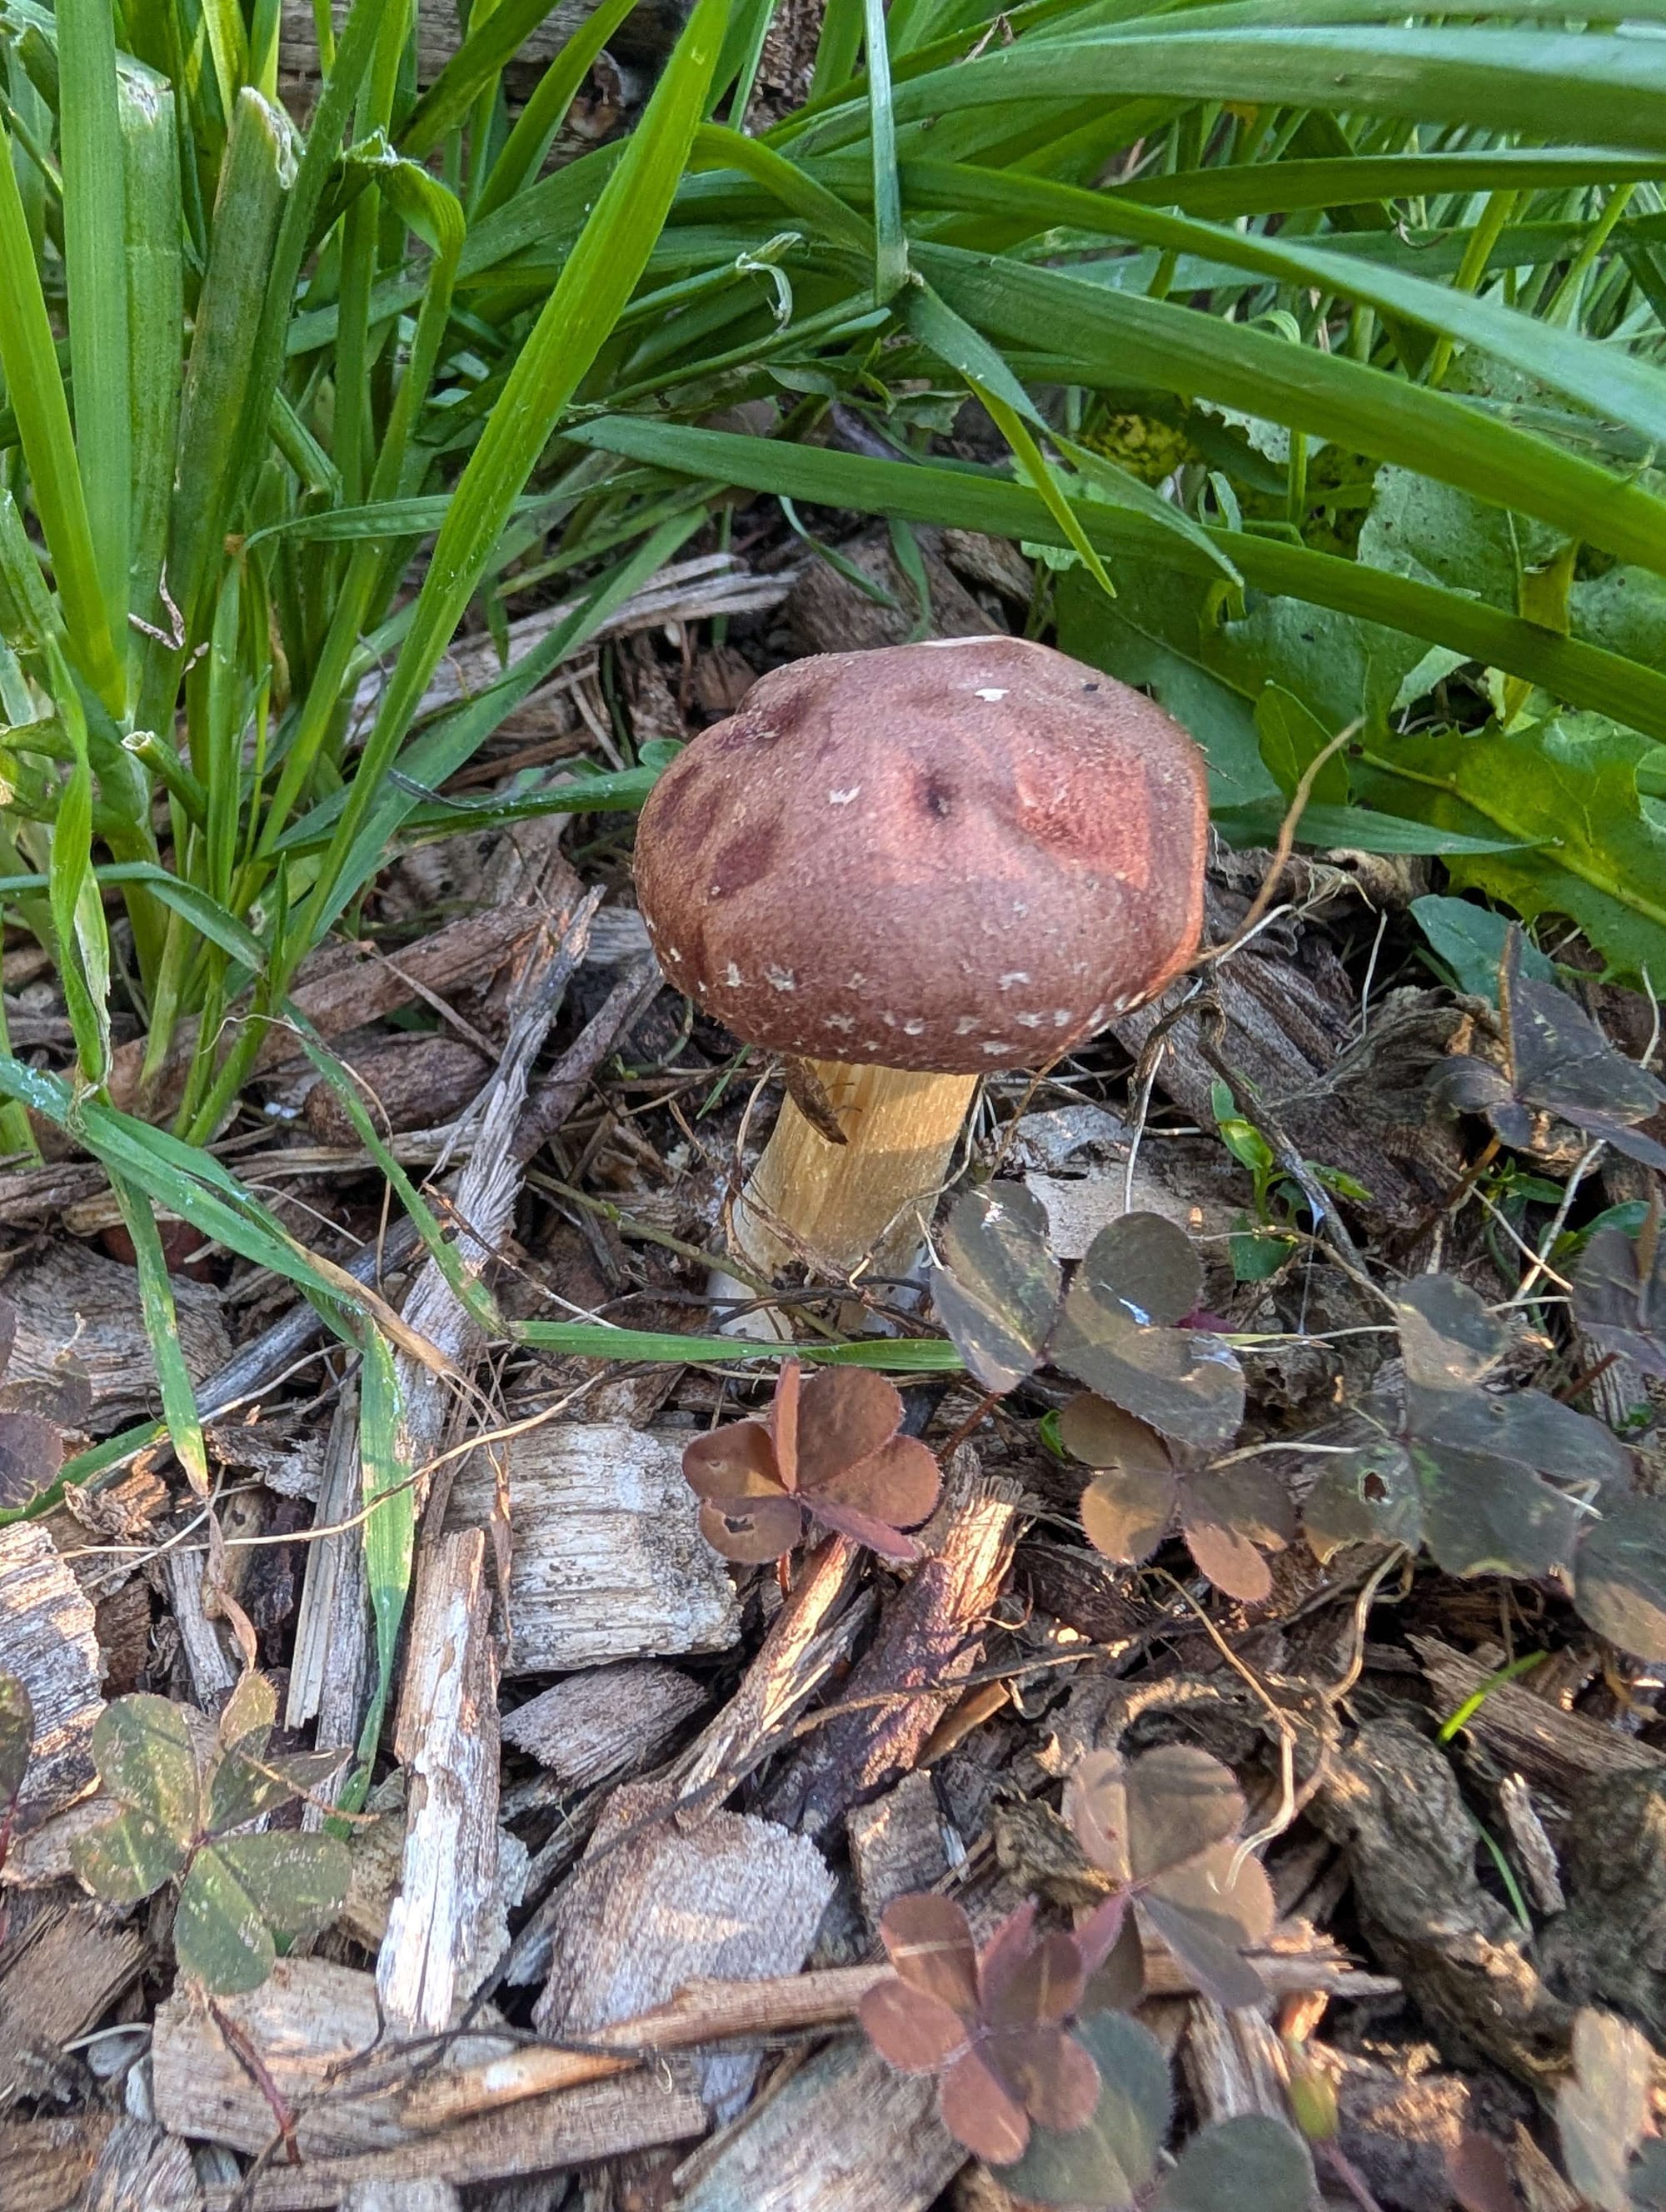
I noticed that the mushrooms first appeared in the wood chips next to the side of my raised bed. I also found them inside the raised bed, so both methods worked.
Step 6: Maintain
Over time, the wood chips and straw break down. My goal is to make this a perennial producer in my garden. I will add more wood chips at the end of the season to feed the mycelium. Inside the garden bed, my plan is to grow cover crops over winter, crimp them in the spring, and let the wine caps take over from there.
Hopefully next National Mushroom Day, I will have an even bigger mushroom harvest, more lessons learned, and many more blog posts!